
How to Reduce Server Response Time for WordPress (TTFB Guide)
If you have tested your WordPress site with PageSpeed Insights, you have probably seen the warning:…
If you have tested your WordPress site with PageSpeed Insights, you have probably seen the warning:…
The fourth Release Candidate (“RC4”) for WordPress 7.0 is ready for download and testing! This version…

Introducing the all new Googlebook! For everyone who wants a MacBook Neo but secretly hates themselves….

In the summer of 1995, a revolution occurred that didn’t involve a single gunshot or a…

The main antagonist of Toy Story 5, in theaters this summer, is a green, frog-shaped kids’…

Tangem Deal: https://tangem.com/pricing/?promocode=CYBERSCRILLA&promocode=NYEXTRA26

The Demo Problem: The “Vibe” vs. The “System” In 2026, the novelty of an AI agent…

The third Release Candidate (“RC3”) for WordPress 7.0 is ready for download and testing! This version…
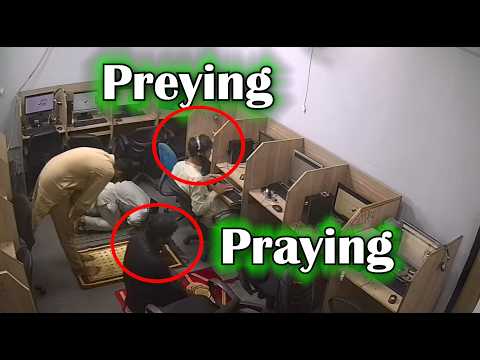
Rapidite Solutions are located in Lahore in Pakistan and they steal mobile phones and impersonate large…

Apple has agreed to pay iPhone owners $250M for not delivering on Apple Intelligence Siri features….

Living your life on the Edge is dangerous… especially for your passwords. ARTICLES:Edge Stores Passwords in…

The internet is usually a place for “getting things done,” but sometimes the soul just needs…

Many WordPress site owners keep publishing content for months but still aren’t sure if their SEO…

“I would want to see full-scale testing that includes typical residential fires like furniture and mattress…

Ledger Wallet Deal: https://shop.ledger.com/r/cyber-scrillar=f3f59e340ecb Tangem Wallet (30% Off & Free BTC): https://tangem.com/pricing/?promocode=CYBERSCRILLA&promocode=NYEXTRA26 Join my Skool Community:…